Why Proper Installation Isn't Optional
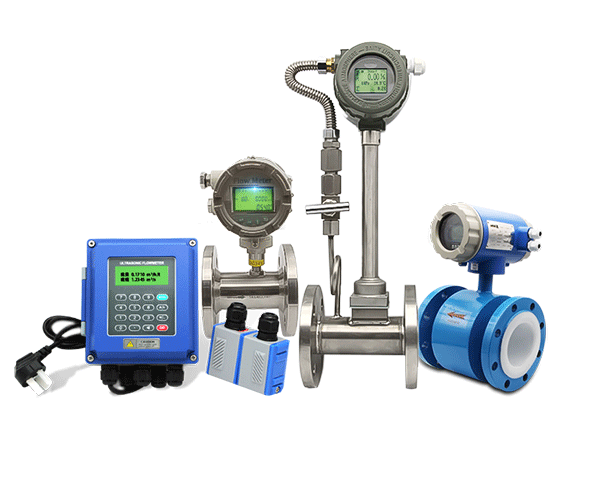
Installing a flow meter correctly isn't just about getting it to work—it's about ensuring measurement accuracy, maximizing equipment lifespan, and preventing costly system failures. According to industry studies, up to 70% of flow measurement inaccuracies can be traced back to improper installation practices. Whether you're working with electromagnetic, Coriolis, ultrasonic, or turbine flow meters, following engineering best practices will save you time, money, and operational headaches.
Pre-Installation Considerations
Before you touch a wrench, these critical factors will determine your installation success:
Optimal Location Selection
Your flow meter's position in the pipeline directly impacts measurement accuracy. Always install your meter:
-
In sections with full pipes: Avoid high points where air can accumulate. Trapped air creates measurement errors for most meter types :cite[2].
-
Away from disturbances: Maintain minimum straight pipe runs—typically 10x pipe diameter upstream and 5x downstream from valves, elbows, or pumps :cite[1]:cite[5].
-
Accessible for maintenance: Ensure technicians can easily reach calibration points and electrical connections without safety hazards.
Expert Insight: "For electromagnetic flow meters, always position on the pump's discharge (thrust) side, never the suction side. This prevents negative pressure that can cause inaccurate readings." — FlowMeet Engineering Team :cite[7]
Pipe & Fluid Readiness
Prepare your system to protect your investment:
-
Clean pipes thoroughly: Contaminants damage sensitive measurement components. Install upstream filters when measuring clean gases or liquids :cite[5].
-
Verify material compatibility: Ensure wetted parts (seals, liners, electrodes) resist chemical corrosion from your process fluid :cite[2].
-
Check flow direction alignment: Confirm meter arrow matches fluid flow. Reverse installation voids warranties on most meters.
Environmental Factors
Protect your meter from external interference:
-
Avoid areas with excessive vibration (use vibration dampeners if unavoidable)
-
Shield from strong electromagnetic fields (transformers, motors) that disrupt signals :cite[7]
-
Maintain ambient temperatures within manufacturer specifications (typically -40°F to 140°F/-40°C to 60°C)
Step-by-Step Installation Guide
1 System Shutdown & Preparation
Never install on live systems. Follow this sequence:
-
Isolate the pipeline section using shutoff valves
-
Depressurize and drain pipes completely
-
Clean pipe ends where the meter will connect
2 Meter Positioning & Mounting
Orientation matters more than you think:
|
Installation Position
|
Best Practices
|
Meters to Avoid
|
|
Horizontal Pipes
|
Mount with electronics housing upward. For liquid applications, position at pipe bottom to avoid air bubbles :cite[2]
|
Coriolis with gas entrainment risk
|
|
Vertical Pipes
|
Always choose upward flow direction. Downward flow causes unstable readings and sediment accumulation :cite[2]:cite[7]
|
Paddle wheel meters in downward flow
|
Critical Warning: Coriolis mass flow meters require special mounting. Never install them with measuring tubes facing downward—this traps air pockets causing significant measurement drift :cite[2].
3 Piping Connections
How you connect affects leak risks and measurement integrity:
-
Flanged connections: Use new gaskets sized correctly. Tighten bolts diagonally in multiple passes to even stress :cite[2]
-
Threaded connections: Match thread standards (NPT, BSP). Apply PTFE tape only on male threads, leaving first two threads bare
-
Clamp-on ultrasonic: Apply couplant gel generously before sensor mounting. Secure snugly without overtightening
4 Electrical Connections
Proper wiring prevents noise interference and safety hazards:
-
Use shielded, direct-burial rated cable for outdoor runs :cite[1]
-
Dedicate separate conduits for sensor and power lines—never bundle with solenoid wires
-
Install waterproof connectors (e.g., 3M 316IR) for moisture protection
-
Ground electromagnetic meters meticulously: Use ≥4mm² cable to plant grounding system :cite[7]
Bronkhorst Pro Tip: "Never apply pressure before making electrical connections. Electrostatic discharge (ESD) can destroy electronic components instantly. Ground yourself before handling meter electronics." :cite[5]
Flow Meter Type-Specific Guidelines
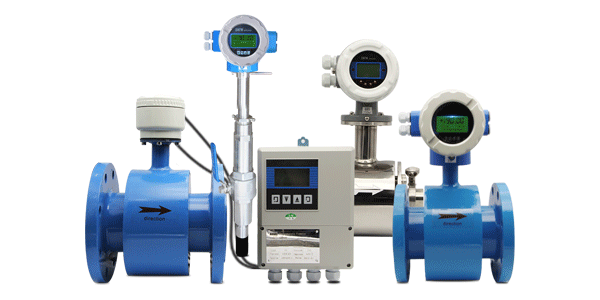
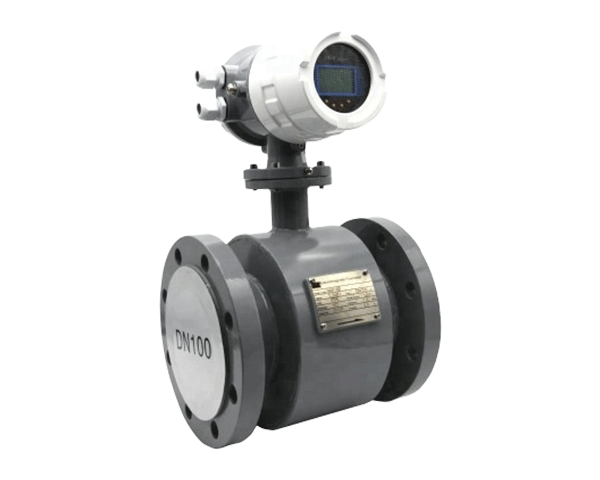
Electromagnetic Flow Meters
-
Require conductive liquids (≥5 μS/cm conductivity)
-
Install only in completely full pipes—unsuitable for gases/steam :cite[2]:cite[7]
-
Use grounding rings with non-conductive pipes (PVC, lined steel)
Coriolis Mass Flow Meters
-
Mount horizontally whenever possible
-
Prevent gas entrainment in liquid applications
-
Support piping near connections to minimize vibration transfer
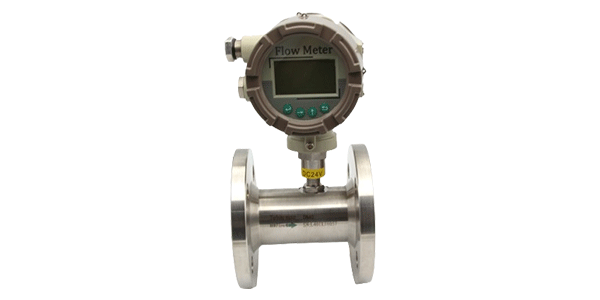
Paddle Wheel & Turbine Meters
-
Install in laminar flow regions only
-
Maintain upstream straight pipe ≥15x pipe diameter
-
Orientation-specific—follow manufacturer diagrams precisely
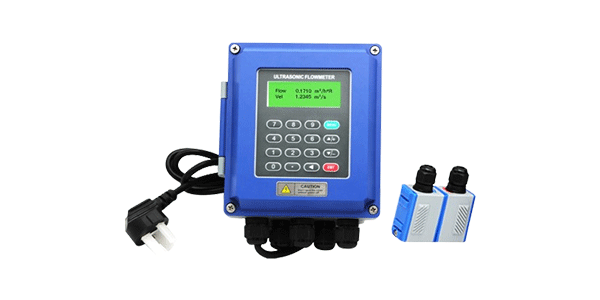
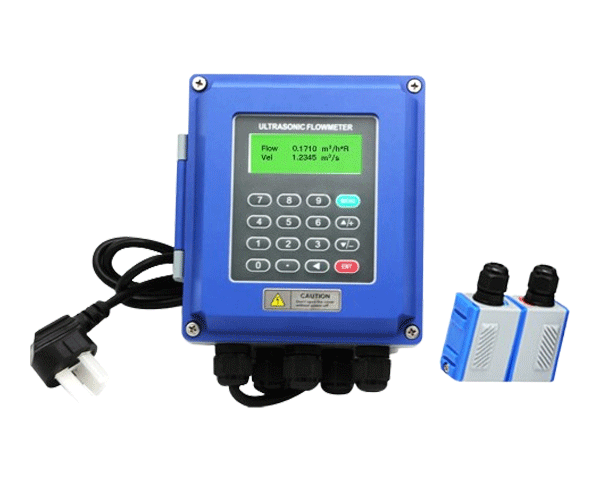
Ultrasonic Flow Meters
-
Clamp-on models need smooth pipe surfaces
-
Apply couplant gel generously before sensor mounting
-
Ensure pipe wall thickness matches sensor specifications
Post-Installation Verification
Don't assume it works—prove it:
Leak Testing & System Checks
-
Pressurize system gradually to operational pressure
-
Inspect all connections with leak detection solution
-
Check for pipe stress on meter housings
Calibration & Validation
-
Perform zero calibration with empty and full pipes :cite[2]
-
Verify readings against known volumes (tank level drops)
-
Run at multiple flow rates to confirm linearity
Data-Backed Insight: Industry surveys show that meters calibrated post-installation maintain accuracy 2.3x longer than those not calibrated initially. Always document calibration data for audit trails :cite[2].
Troubleshooting Common Installation Issues
|
Problem
|
Likely Cause
|
Solution
|
|
Erratic readings
|
Air bubbles in liquid flow
Insufficient straight pipe
Electrical noise
|
Relocate to low point in pipe
Install flow conditioner
Check grounding/shielding
|
|
Zero flow reading
|
Wrong flow direction
Air pockets
Sensor wiring error
|
Verify meter orientation arrow
Install air release valves
Check cable continuity
|
|
Signal dropout
|
Loose connections
Moisture in junction box
Power fluctuations
|
Inspect terminals
Apply waterproofing
Install voltage stabilizer
|
|
Excessive noise
|
Grounding issues
Cable routing near power lines
Vibration interference
|
Recheck ground connection
Separate signal/power cables
Install vibration isolators
|
Final Recommendations
Proper flow meter installation combines science, manufacturer guidelines, and practical experience. Remember these essentials:
-
Always prioritize full-pipe conditions and adequate straight runs
-
Follow type-specific requirements—what works for magnetic meters may fail for Coriolis
-
Document every step: Record installation dates, calibration results, and configuration settings
-
Schedule post-installation validation after 30-60 days of operation
Industry Wisdom: "Allow new installations to warm up for 30 minutes before taking critical measurements. Temperature stabilization reduces zero drift significantly." — Bronkhorst Technical Bulletin :cite[5]
By investing time in correct installation practices today, you'll gain years of reliable service and measurement accuracy tomorrow. When in doubt, consult manufacturer guidelines or engage certified flow measurement specialists.
